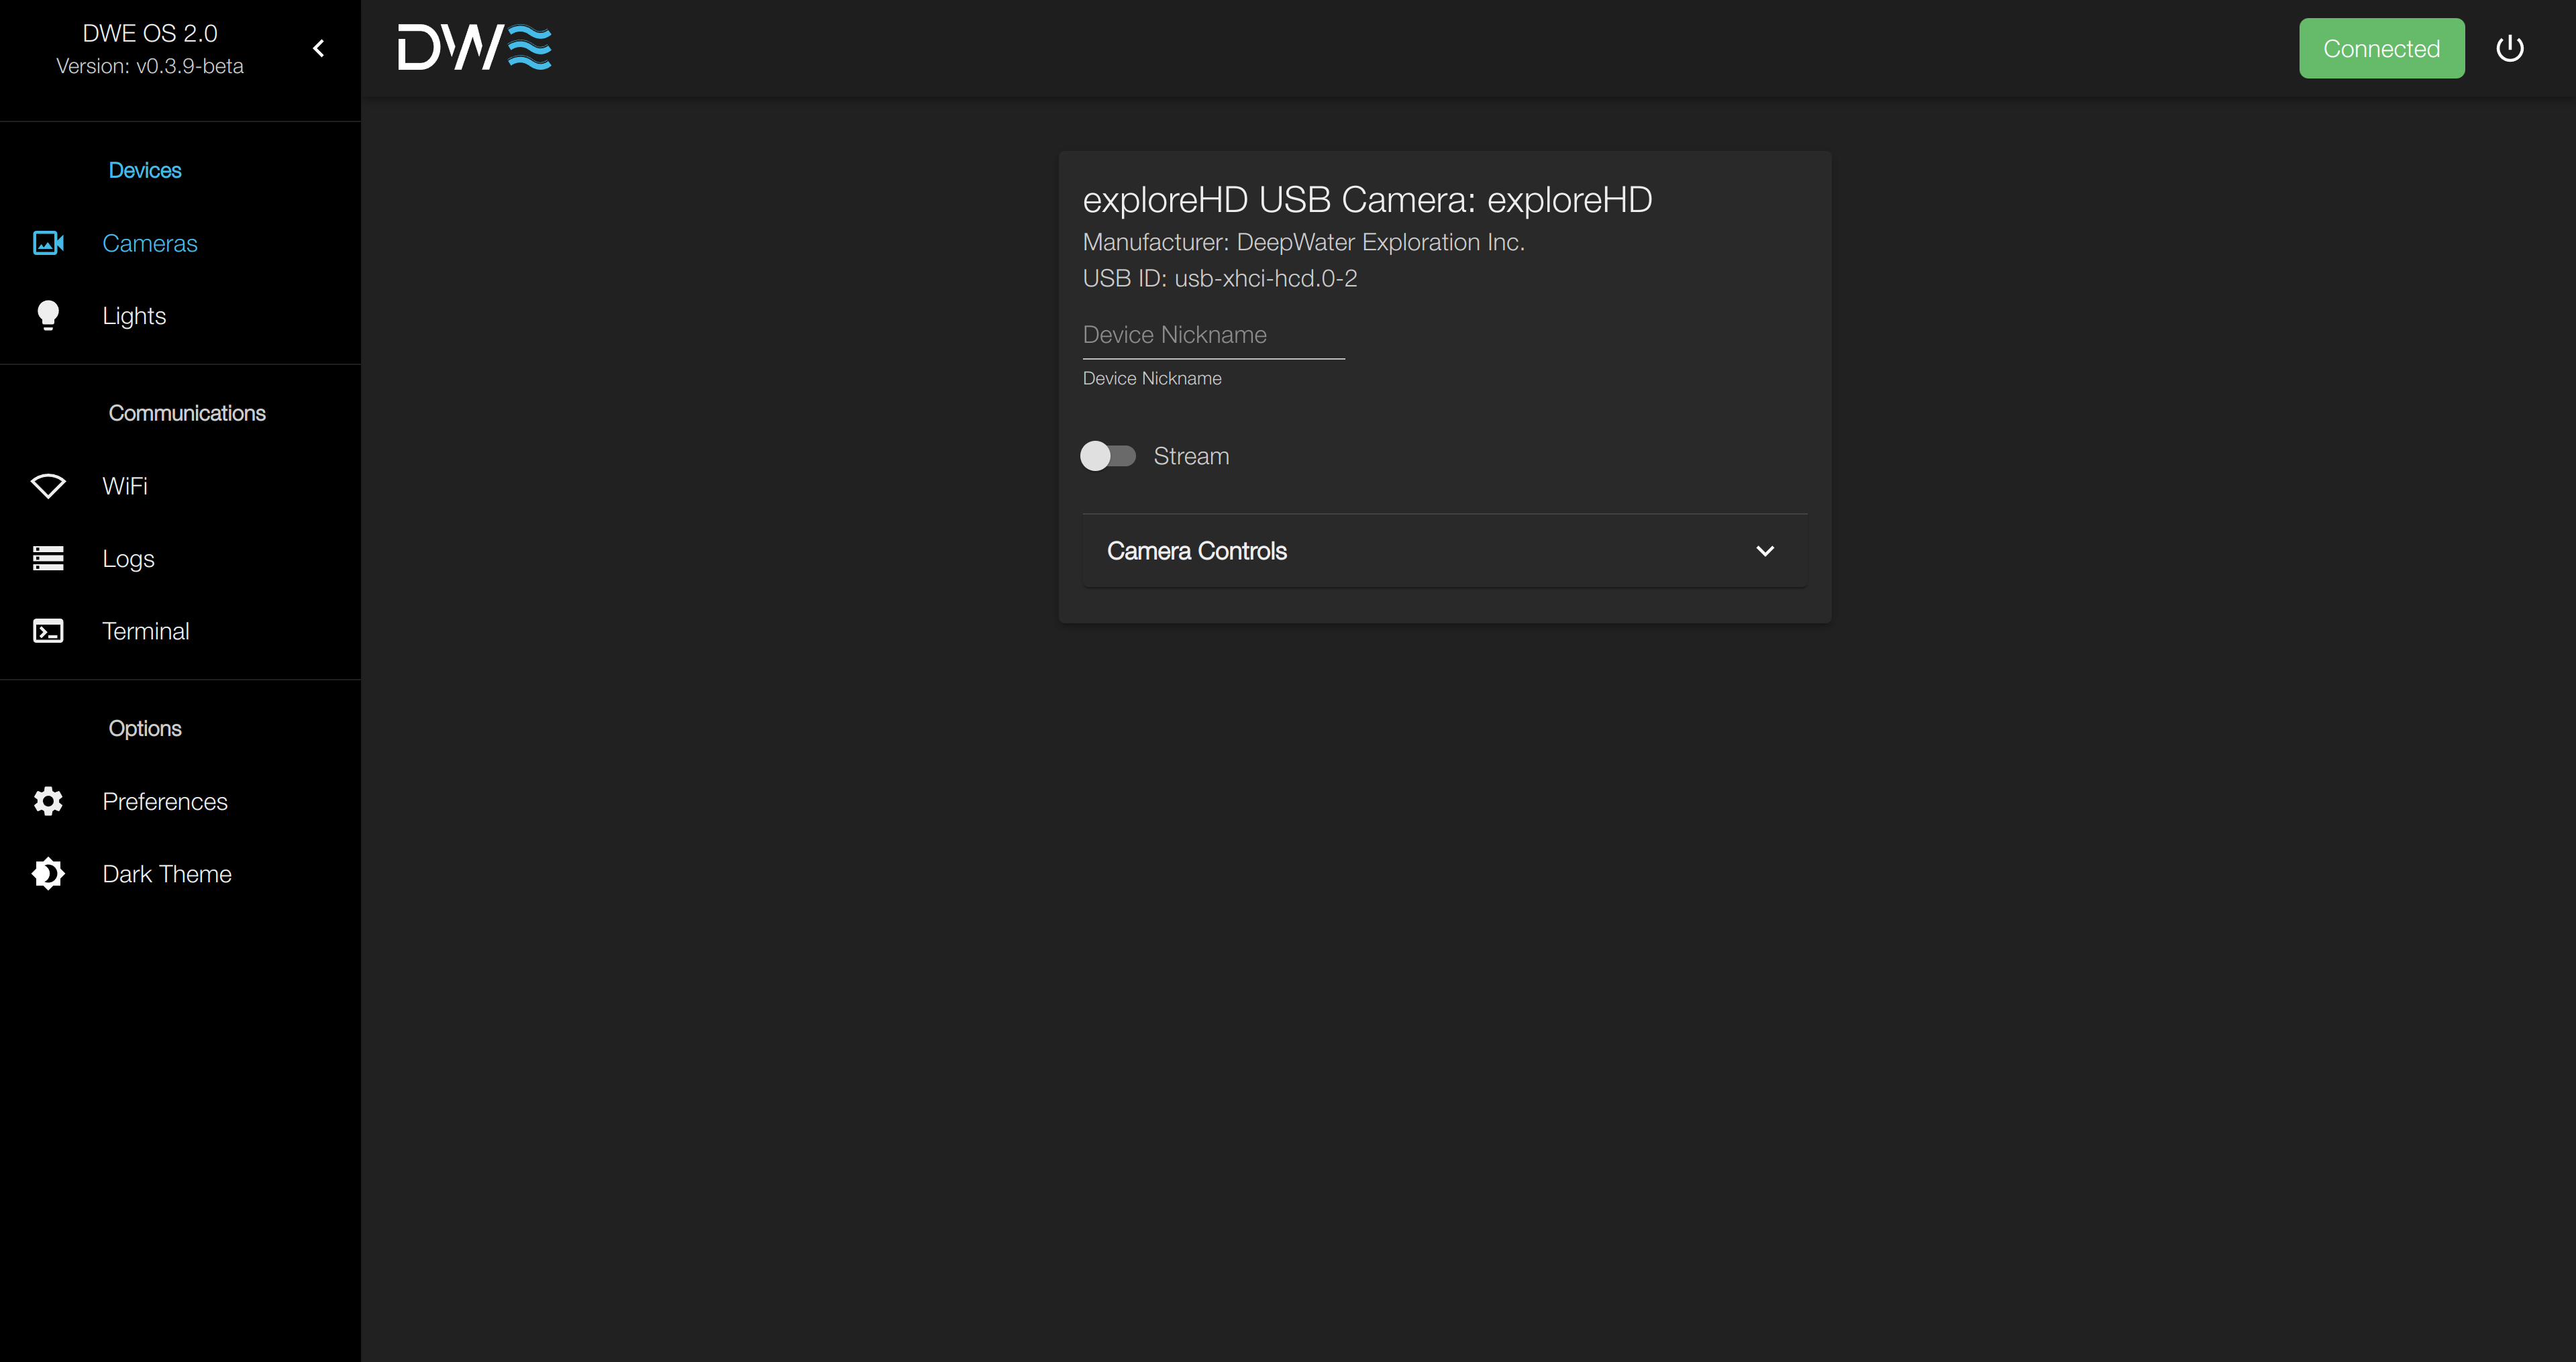
Open DWE_OS 2.0 in your browser
It may take a few minutes for the first boot if installed via image.
- Installed from image
- Installed from script
Open DWE_OS at: http://dweos.local
Versions of DWE_OS 2 prior to v0.4.0-beta (11/1/2024) are accessible at dweos.local:5000
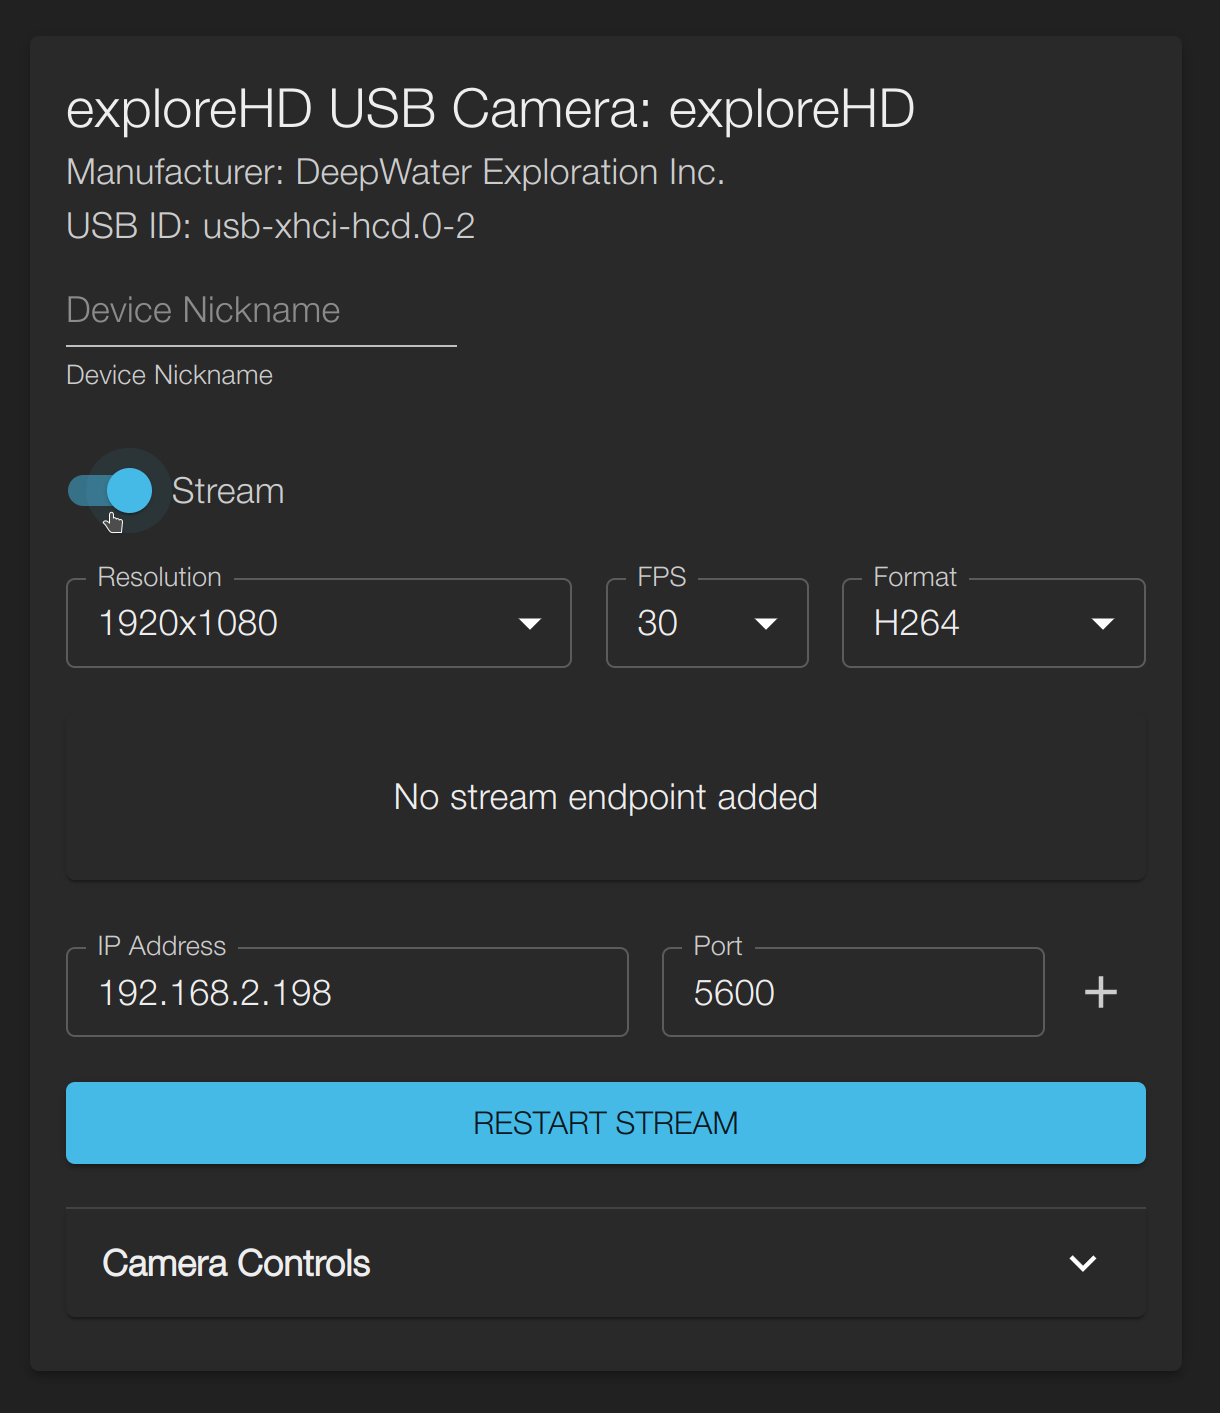
Enable the stream by selecting the stream switch shown below
 After enabling a
stream, there is some key information shown:
After enabling a
stream, there is some key information shown:- Resolution, FPS, and Format
- Stream Endpoints (RTP)
- IP Address & Port for new endpoint
- Camera Controls
Add a stream endpoint
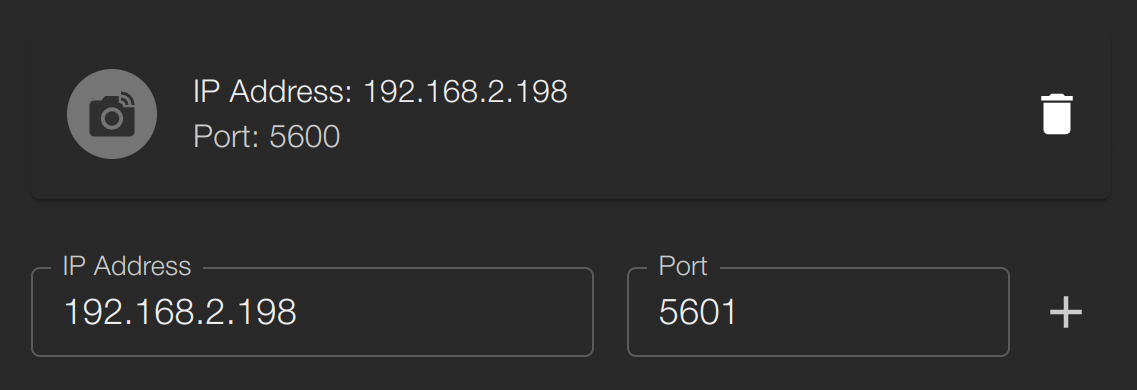
Set the IP Address and Port and click the Add button shown below.


Remember, the endpoints list is what shows the actual list of endpoints. The IP Address and Port input menu only specify what endpoint will be added next, should the Add button be pressed. In the example above, the port being streamed to is
5600, despite the “Add Endpoint” menu showing 5601.Install Discovery for Desktop
Download Discovery
Click here to download Discovery for Desktop on your Laptop/PC.
Success!

How to use Discovery
Learn the user interface in just a couple of minutes
DWE OS 2.0 does not currntly support RTSP Streaming. We currently use a more direct form of streaming called RTP.
