Ensure you are directly connecting your vehicle/system to an ethernet port on your
laptop/PC.
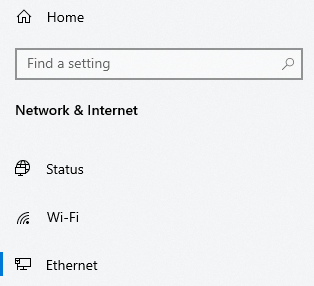
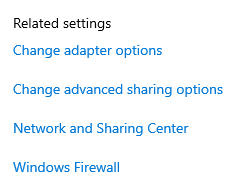
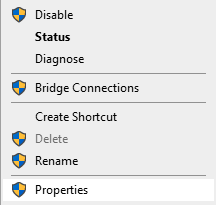
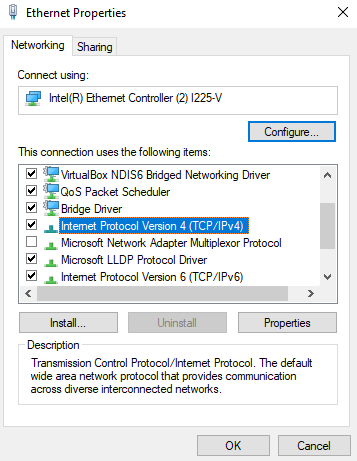
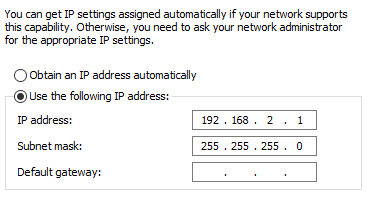
Under Settings/Network & Ethernet, select Ethernet Under Related Settings on the right, select Change Adapter Options Find the adapter named Ethernet with the subtitle of Unidentified Network Right-click the adapter and select Properties Locate Internet Protocol Version 4 (TCP/IPv4) and select Properties Edit the menu to look like the following: Click OK to apply changes. This should now allow your Pi to identify your Windows device under the correct ip address to stream data to.
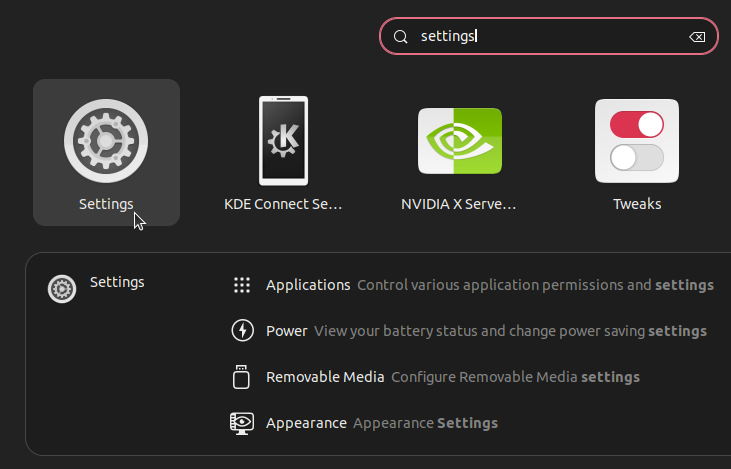
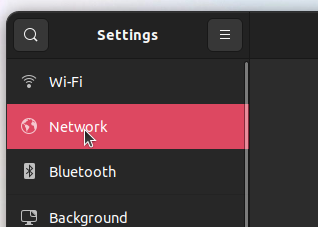
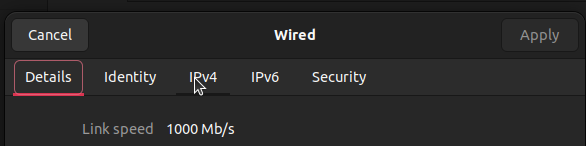
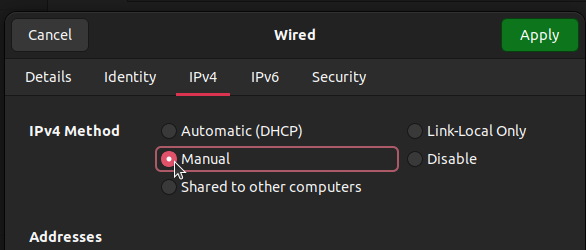
These instructions are for Ubuntu 22.04, however, can be generalized to most Linux Distros.
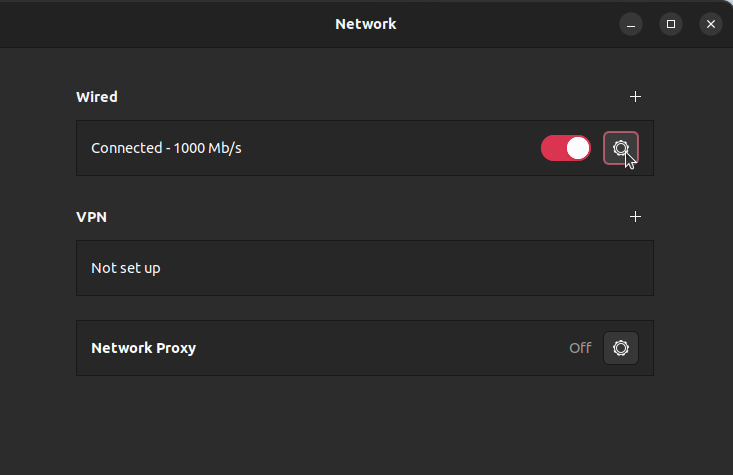
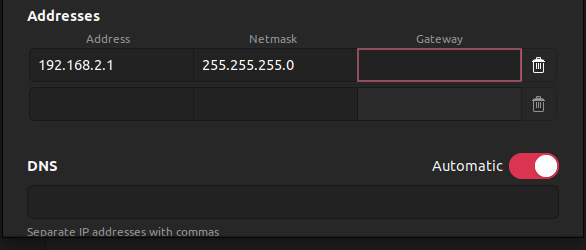
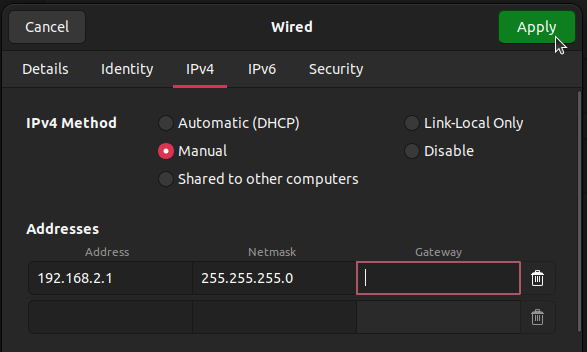
Under to Wired, select the settings/gear icon. Select the IPv4 tab at the top. Under IPv4 Method, select Manual. Under Addresses change your settings to the following: Click Apply. This should now allow your Pi to identify your Linux device under the correct ip address.