

Overview
DeepWater Desktop is the companion software for the SVC Pro. It receives data from the SVC Pro and attached hardware to produce 3D visuals such as: rectified images, disparity maps, and point clouds. It comes with two primary modes:- Depth Only: Generates a depth map and point cloud from the current frame only.
- Coverage Mapping (VSLAM): Tracks camera movement while building a dense point cloud of the scene. This allows you to get a preview of a full reconstruction before processing the data.
Depth Only
Coverage Mapping
Getting Started with DeepWater Desktop
1
Install and open DeepWater Desktop
Download and run the 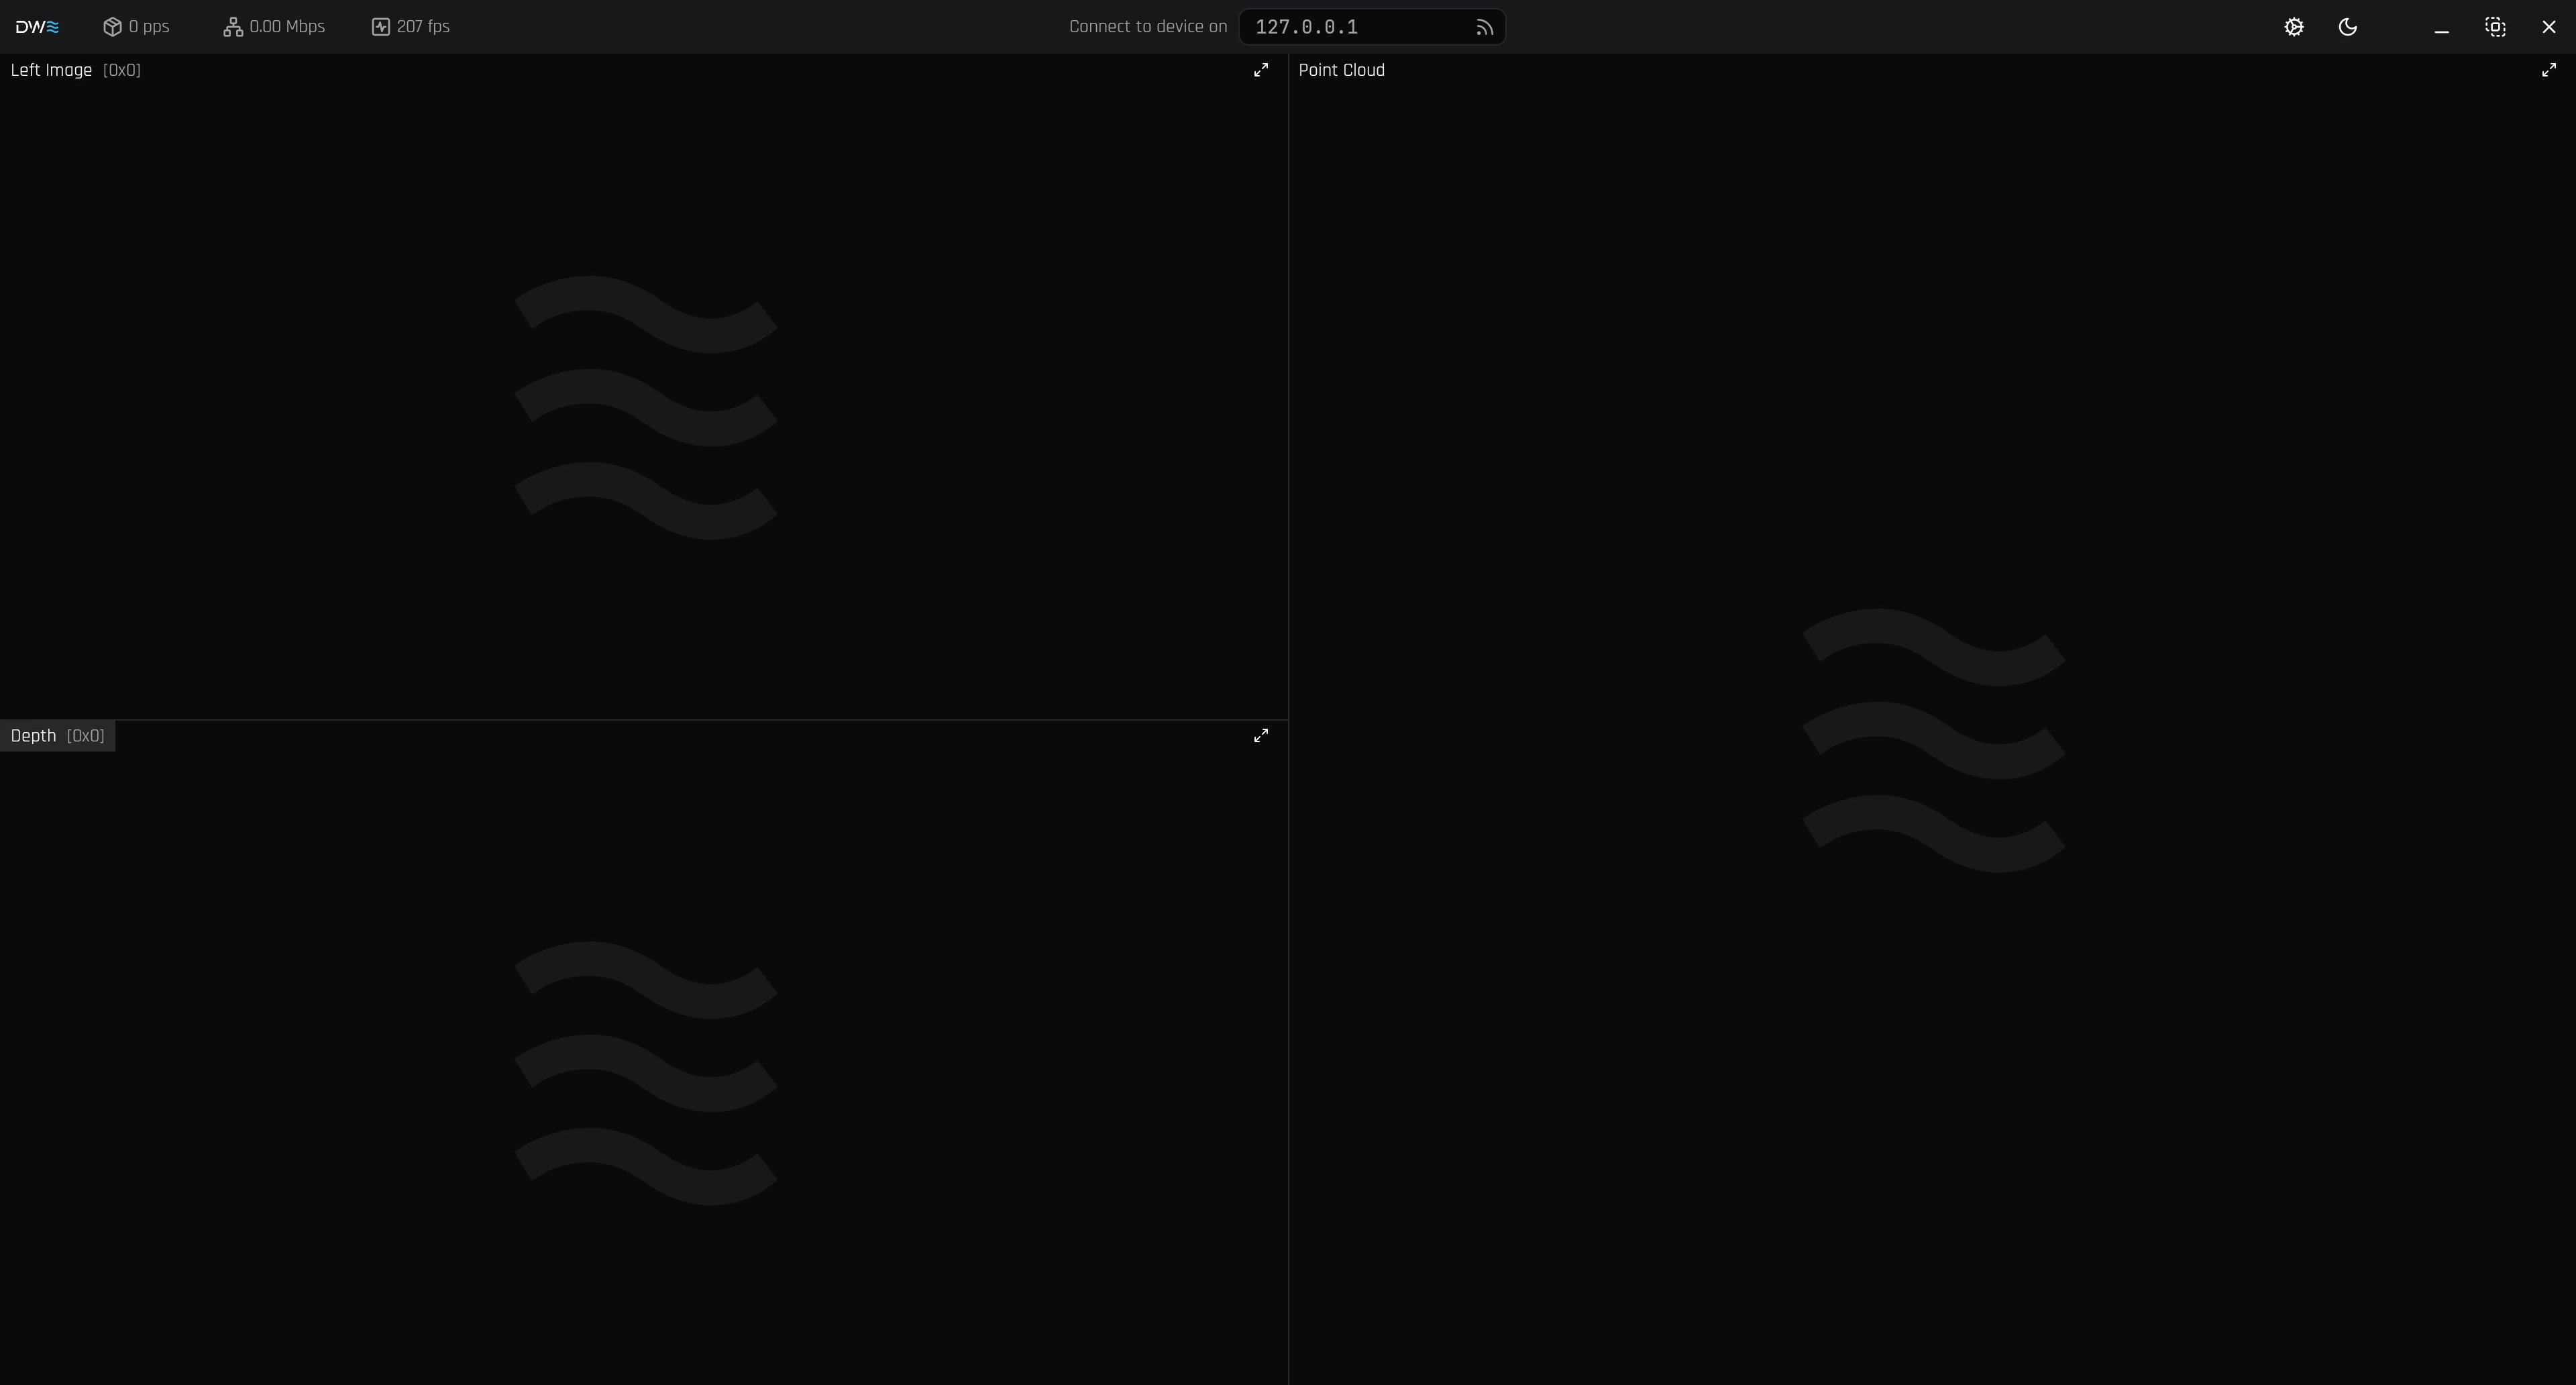
DeepWaterDesktop-{version}-{platform} installer. If you haven’t received one, contact our team at support@dwe.ai.- Windows
- Linux
The installer can be run by double-clicking on it (Administrator) or by launching it through PowerShell (Administrator):It can be run by searching for it in the Start menu.
2
Connect to the SVC Pro
Click on the (connect) icon.
192.168.2.4 is the default IP Address.
If you changed it, make sure you input the correct address of your SVC Pro.3
Add a Stream
Select the (plus) icon next server address to add a stream.
Stream Configuration Reference
Compare the available depth modes, input types, and network protocols.
4
Select Your Inputs
- USB
- DWVO
For USB Mode, change your Input Type to 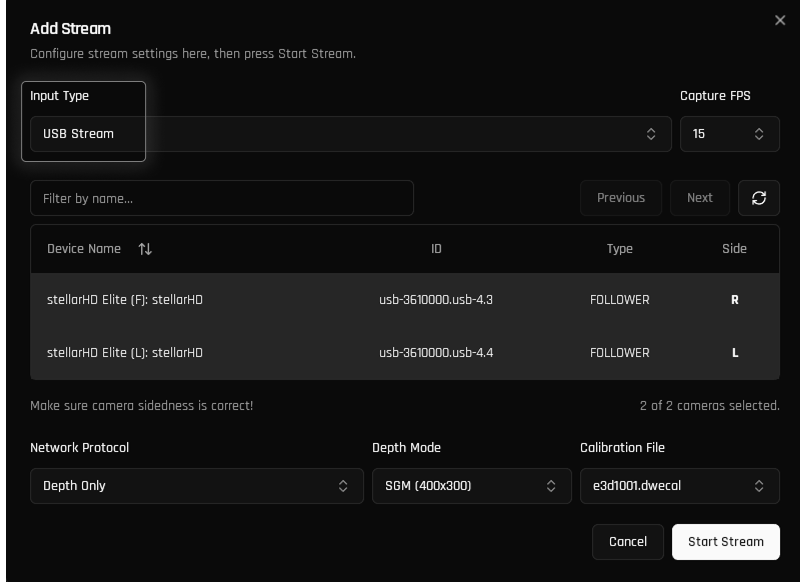
USB Stream.Please select the left camera, followed by the right camera. For modularity, the cameras do not store their positional data, so you will need to configure the sides manually.Complete Kit: Set Capture FPS to 15. This is the recommended framerate for image quality and bandwidth, and allows aquaLUX MAX strobes to reach full brightness.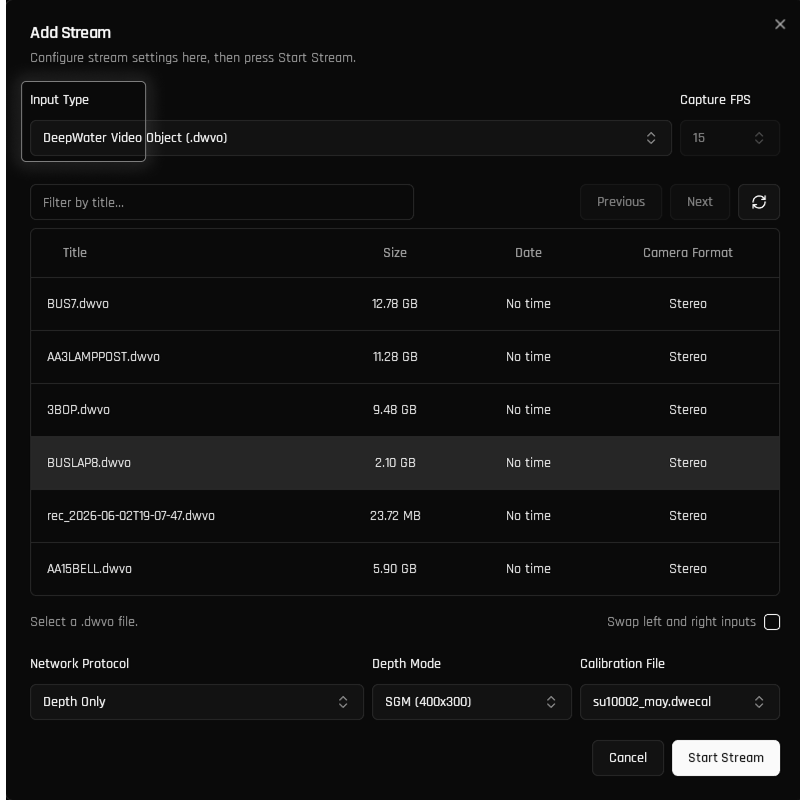
5
Select Network Protocol
Each network protocol is designed for different use cases.Coverage Mapping is recommended for most scenarios and is used for real-time mapping and reconstruction. Depth Only is typically only used for live measurements and testing.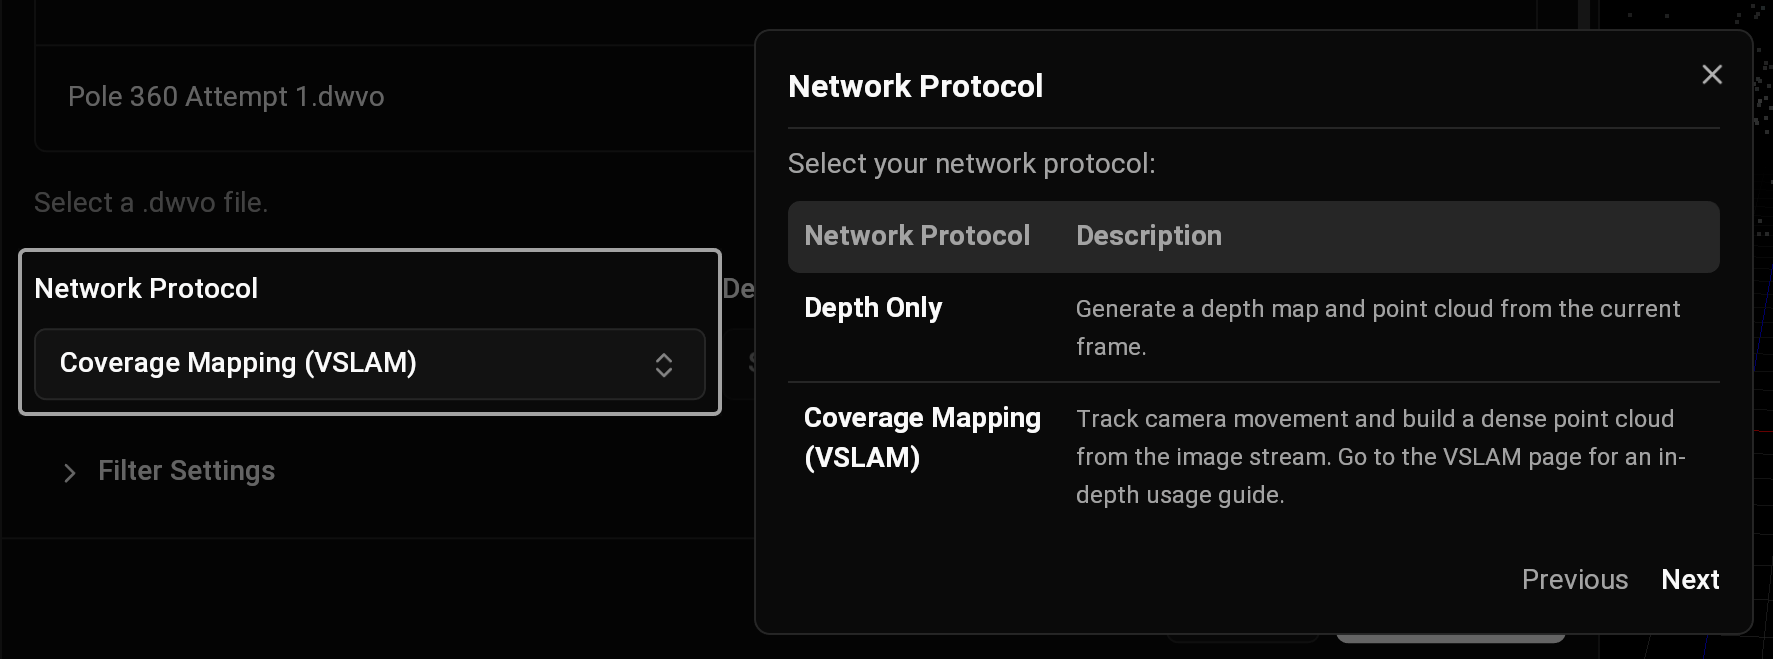
6
Select the Calibration File
Next, you can select the calibration file. By default (on systems with only one calibration file), it will have the correct calibration selected. If you have any custom calibration files, they will also appear here.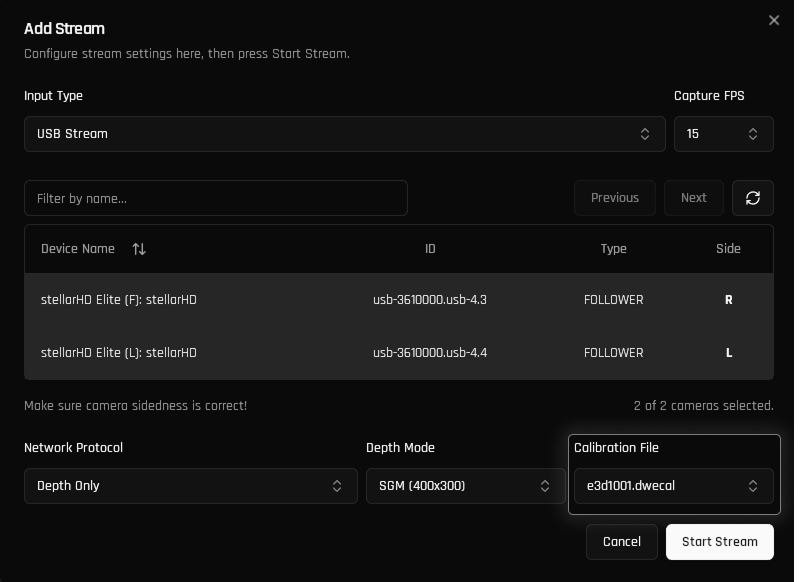
7
Success!
Click Start Stream in the bottom right corner.You are all set! Once the stream initiates, DeepWater Desktop will begin processing your data.VSLAM: Please follow the VSLAM guide for more information on how to begin mapping.Complete Kit: set up your strobe lights in Image Controls.