> ## Documentation Index
> Fetch the complete documentation index at: https://docs.dwe.ai/llms.txt
> Use this file to discover all available pages before exploring further.
# Coverage Mapping (VSLAM)
## Overview
**VSLAM is a beta product.** While we are actively refining and testing, you
may encounter occasional bugs, performance dips, or unexpected behavior.
Please submit bug reports and feature requests to our team at [support@dwe.ai](mailto:support@dwe.ai).
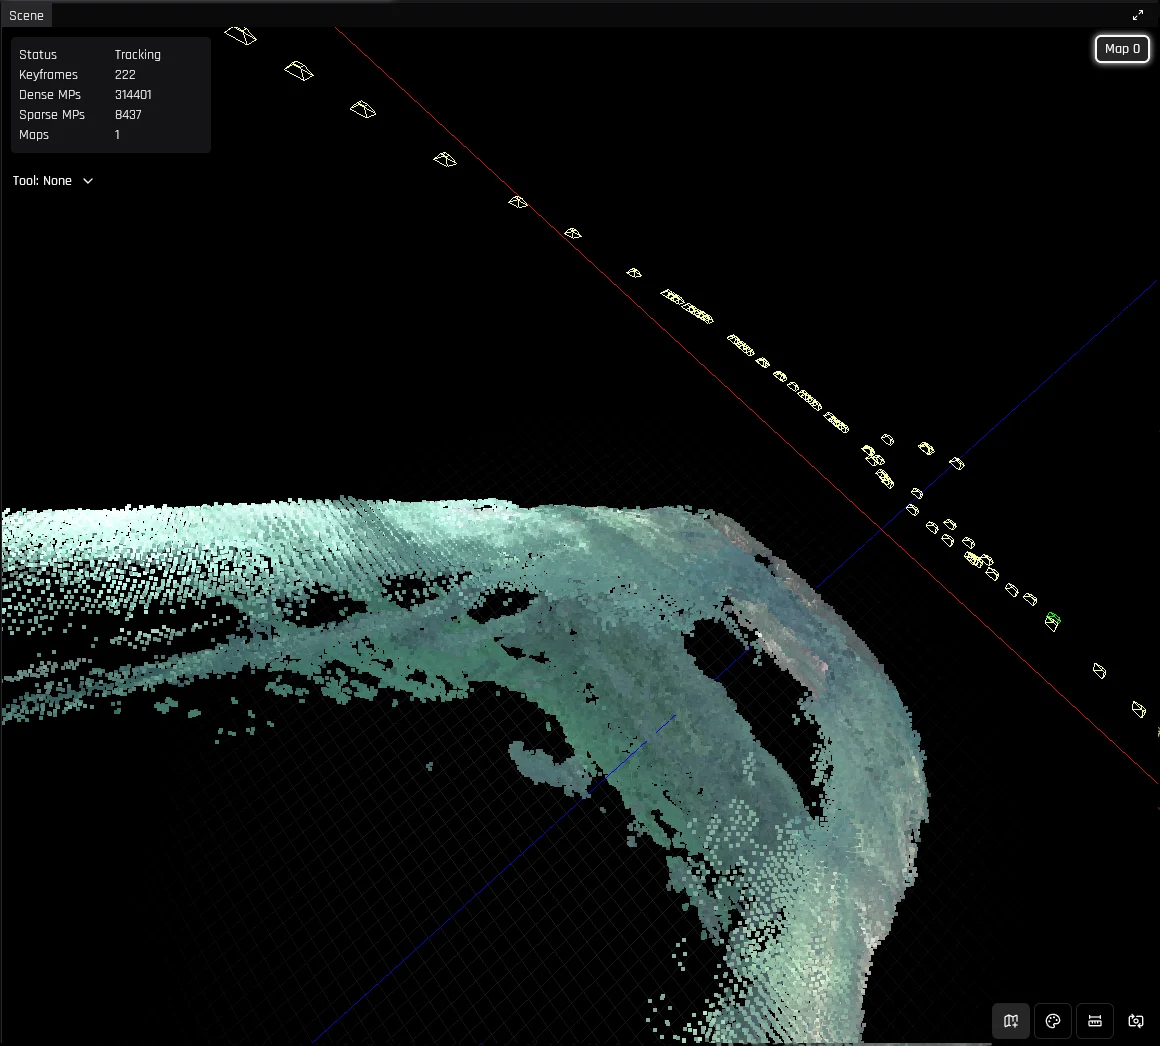
DeepWater Desktop can automatically create a dense reconstruction of your environment, useful for live coverage mapping and measurements.
## Requirements
* SVC Pro Module - Running dweOS Pro
* Topside Computer/Laptop - Running DeepWater Desktop
## Launch Parameters
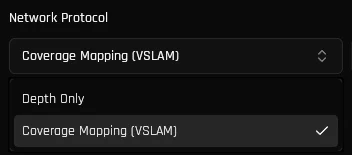
Open the "Add Stream" dialog, select your cameras, and switch the Network Protocol to Coverage Mapping. Check out [our quickstart guide](/dw-desktop/quickstart) for info on how to do this.
 Stick to the default parameters for the best out-of-the-box experience. Manual
tuning is entirely optional and reserved for advanced performance
optimization.
VSLAM tracking performance can be optimized for your environment by adjusting the tracking and voxel filter parameters.
Reference for tuning VSLAM tracking and voxel filter parameters.
Hit the "Start Stream" button. Once the stream initiates, DeepWater Desktop will begin processing your data.
You should now see a 3D point cloud being generated as your camera moves around.
If you plan on post-processing the data, start a recording here as well.
## Loop closures
All SLAM systems accumulate error over time. To correct for this, we use the concept of loop closures-- viewing the same location from the same pose at different points in time.
DeepWater Desktop automatically recognizes loop closures and adjusts previously measured poses and point clouds accordingly.
To initiate a loop closure, simply travel back to a previous pose and face in the same direction. A message will pop up in the bottom-right corner:
Stick to the default parameters for the best out-of-the-box experience. Manual
tuning is entirely optional and reserved for advanced performance
optimization.
VSLAM tracking performance can be optimized for your environment by adjusting the tracking and voxel filter parameters.
Reference for tuning VSLAM tracking and voxel filter parameters.
Hit the "Start Stream" button. Once the stream initiates, DeepWater Desktop will begin processing your data.
You should now see a 3D point cloud being generated as your camera moves around.
If you plan on post-processing the data, start a recording here as well.
## Loop closures
All SLAM systems accumulate error over time. To correct for this, we use the concept of loop closures-- viewing the same location from the same pose at different points in time.
DeepWater Desktop automatically recognizes loop closures and adjusts previously measured poses and point clouds accordingly.
To initiate a loop closure, simply travel back to a previous pose and face in the same direction. A message will pop up in the bottom-right corner:
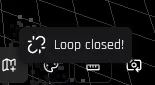 indicating that a loop closure has happened, followed by
a global adjustment of the pointcloud and previous poses.
indicating that a loop closure has happened, followed by
a global adjustment of the pointcloud and previous poses.
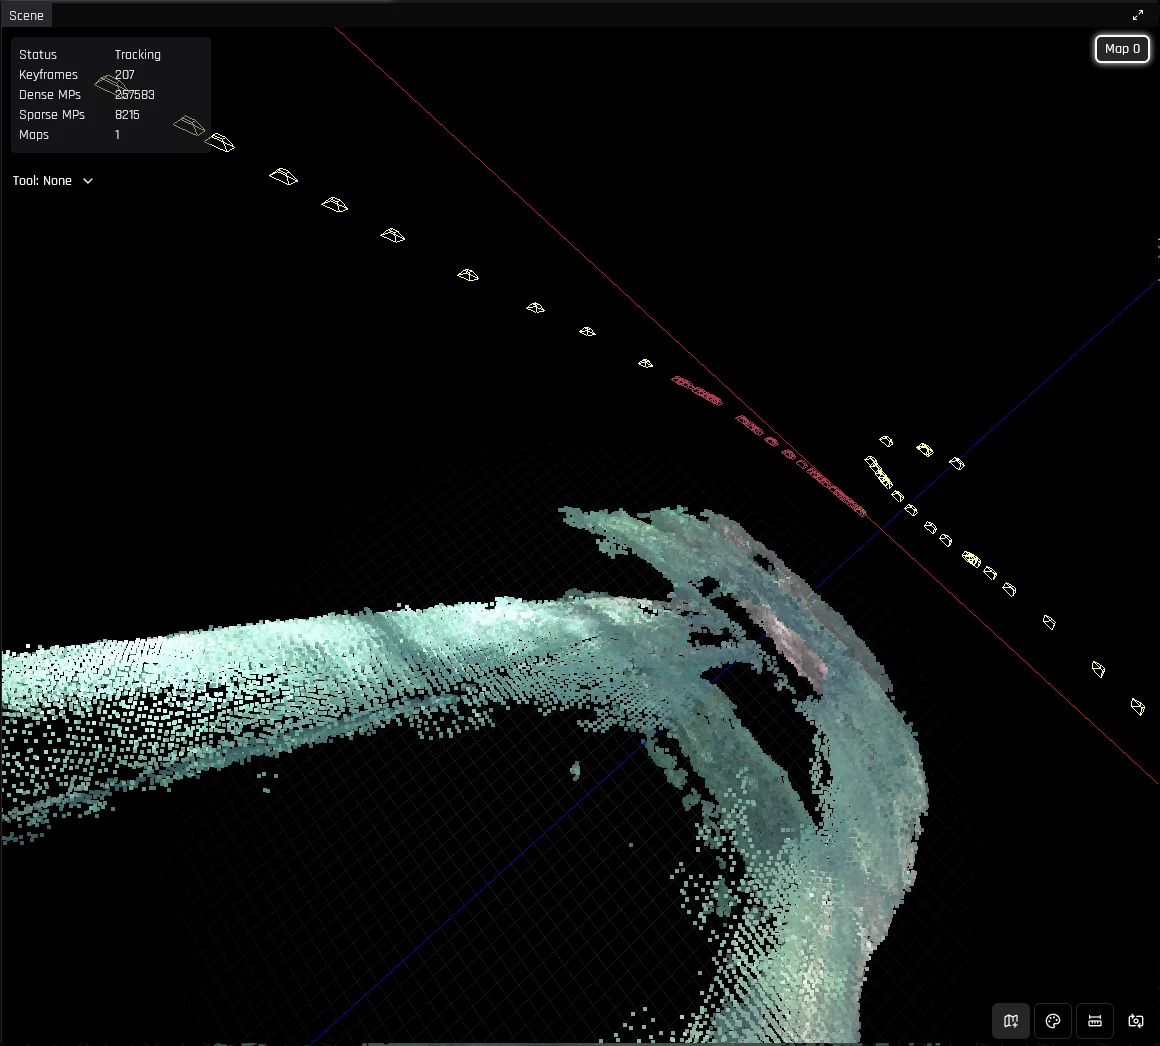
 ## Maps
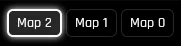
Upon losing tracking for an extended period, the system will create a new map from scratch. All previous maps are saved in memory, and can be viewed
by clicking their labels in the top-right corner:
## Maps
Upon losing tracking for an extended period, the system will create a new map from scratch. All previous maps are saved in memory, and can be viewed
by clicking their labels in the top-right corner:
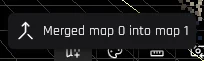
 Don't worry about losing tracking over short periods, as maps are automatically merged when possible. Upon discovery of overlapping sections, you will receive
this message:
Don't worry about losing tracking over short periods, as maps are automatically merged when possible. Upon discovery of overlapping sections, you will receive
this message:
 and after a short wait, the point cloud will reflect the changes.
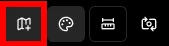
Automatic map creation can be toggled on/off by pressing Z or the Map button. If it's off the system will only try to locate itself relative to existing maps.
and after a short wait, the point cloud will reflect the changes.
Automatic map creation can be toggled on/off by pressing Z or the Map button. If it's off the system will only try to locate itself relative to existing maps.
 ## Tools and Controls
### Navigation
When the Scene view is focused, use the following controls to move the virtual camera:
| Control | Action |
| ------------------------------------------------------------ | ----------------------- |
| W / S | Move forward / backward |
| A / D | Move left / right |
| E / Q | Move up / down |
| Right-click + drag | Pan the view |
## Tools and Controls
### Navigation
When the Scene view is focused, use the following controls to move the virtual camera:
| Control | Action |
| ------------------------------------------------------------ | ----------------------- |
| W / S | Move forward / backward |
| A / D | Move left / right |
| E / Q | Move up / down |
| Right-click + drag | Pan the view |
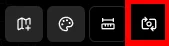 ### Ruler
Hit Space to pause the stream.
Press R or select the Ruler icon in the bottom-right corner to activate the Ruler tool. Select two points to see the distance between them.
### Color Mode
Press C or select the color palette icon in the bottom-right corner to toggle between Texture and Coverage viewing modes.
### Ruler
Hit Space to pause the stream.
Press R or select the Ruler icon in the bottom-right corner to activate the Ruler tool. Select two points to see the distance between them.
### Color Mode
Press C or select the color palette icon in the bottom-right corner to toggle between Texture and Coverage viewing modes.
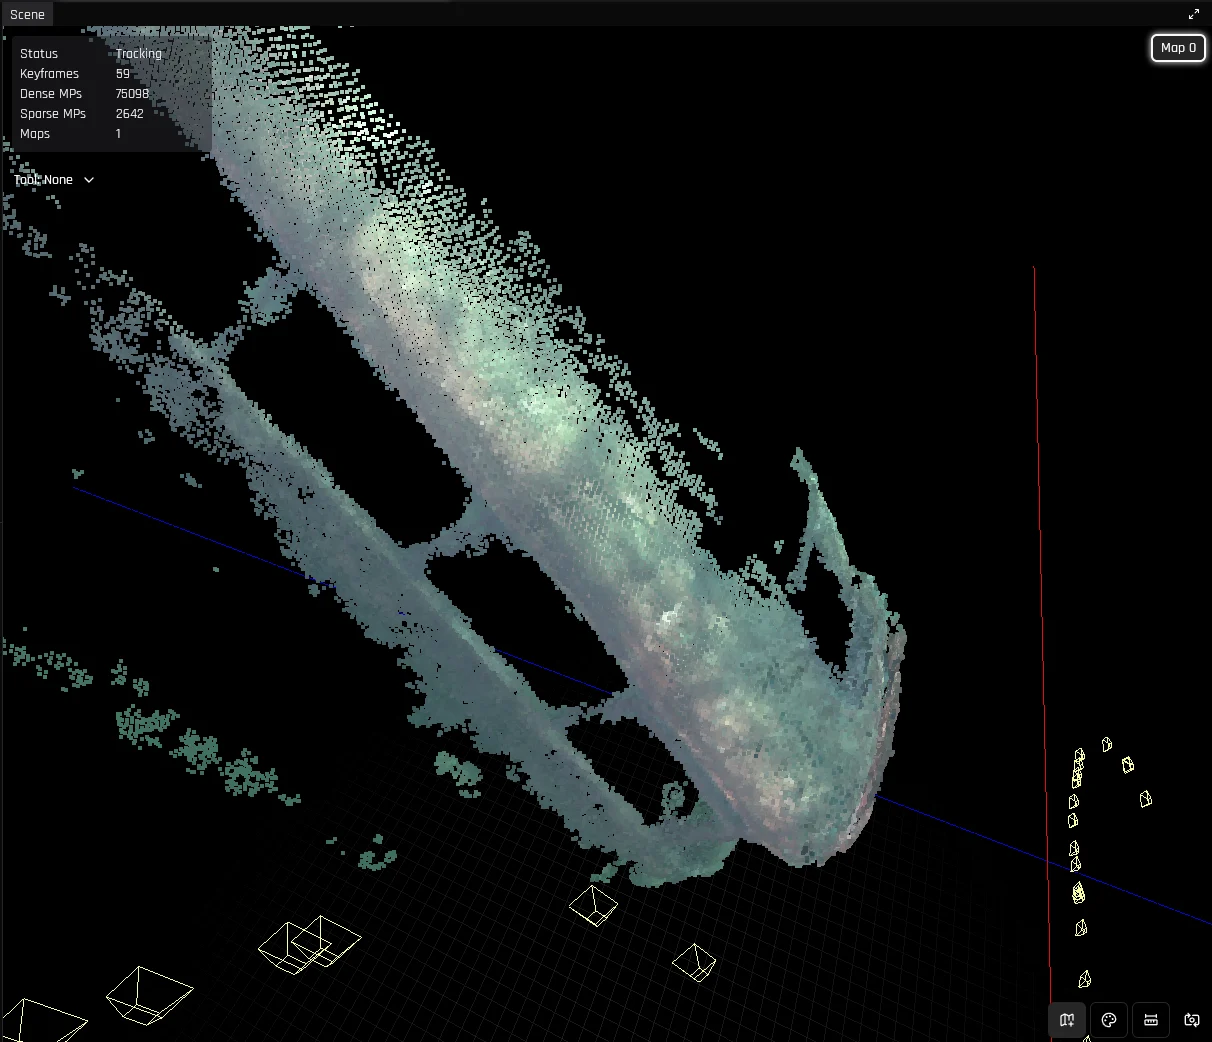
 Coverage mode makes it easier to spot which sections are lacking detail.
| Color | Observed distance | Detail |
| --------------------------------------------------------------------------------- | ----------------- | --------------------------------------------- |
| Orange Red | Up close | Good detail |
| Green Blue | From a distance | Lower detail — may benefit from a closer pass |
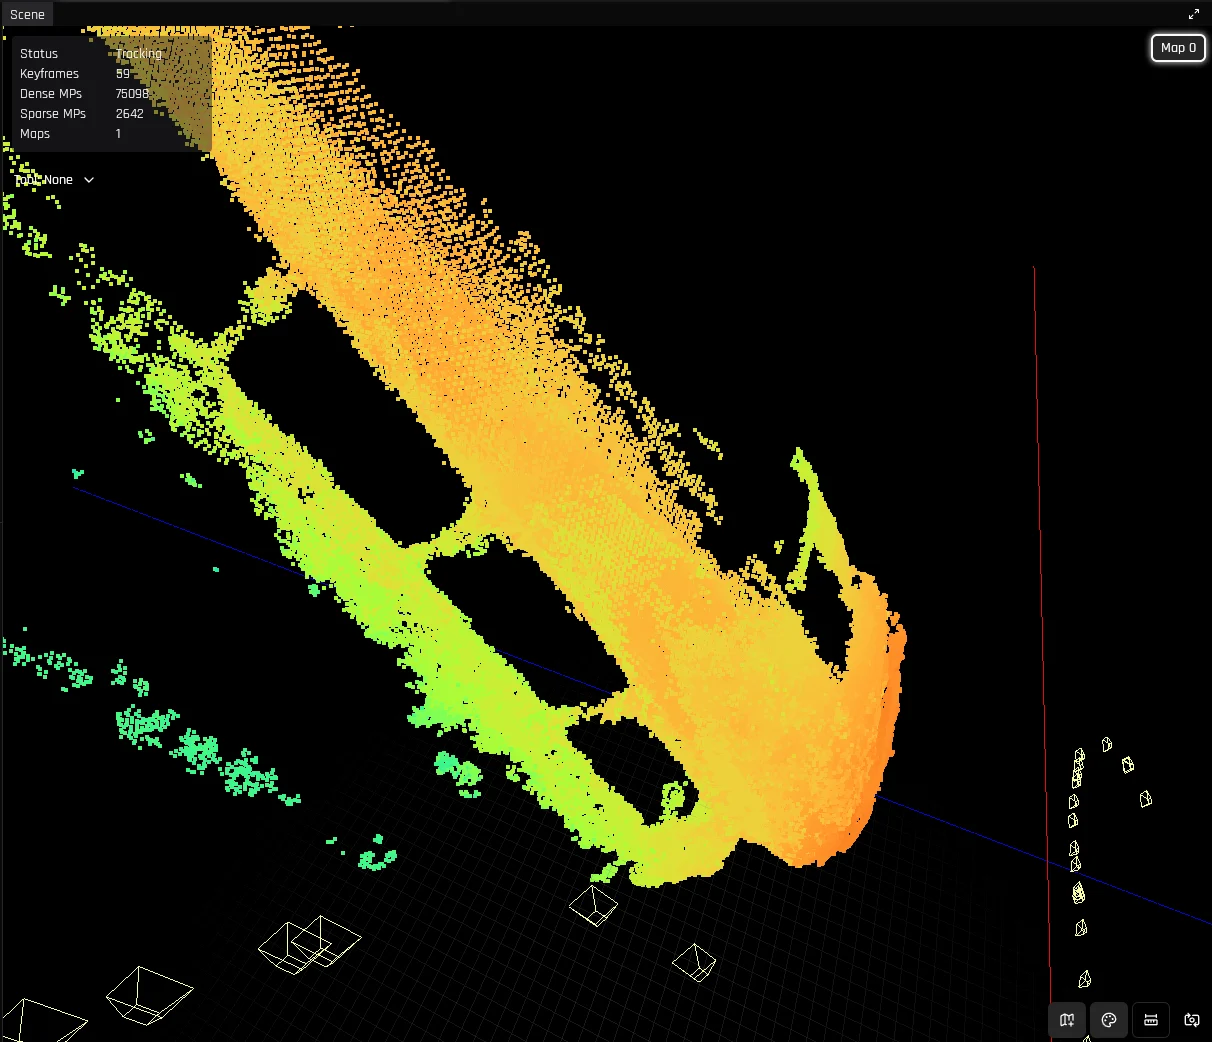
## Troubleshooting
### Configuring UDP Receive Buffers
RTP packets can be discarded due to insufficient UDP receive buffer size. We recommend manually increasing it as the default is often insufficient for properly capturing
full frames.
We recommend setting the max OS receive buffer size to 8MB:
```bash theme={null}
sudo sysctl -w net.core.rmem_max=8338608
sudo sysctl -w net.core.rmem_default=8338608
```
Open Device Manager and right-click on the network adapter the SVC is connected on. Open the "Properties" page.
Coverage mode makes it easier to spot which sections are lacking detail.
| Color | Observed distance | Detail |
| --------------------------------------------------------------------------------- | ----------------- | --------------------------------------------- |
| Orange Red | Up close | Good detail |
| Green Blue | From a distance | Lower detail — may benefit from a closer pass |
## Troubleshooting
### Configuring UDP Receive Buffers
RTP packets can be discarded due to insufficient UDP receive buffer size. We recommend manually increasing it as the default is often insufficient for properly capturing
full frames.
We recommend setting the max OS receive buffer size to 8MB:
```bash theme={null}
sudo sysctl -w net.core.rmem_max=8338608
sudo sysctl -w net.core.rmem_default=8338608
```
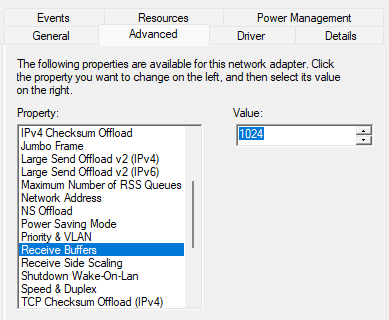
Open Device Manager and right-click on the network adapter the SVC is connected on. Open the "Properties" page.
 Go to the "Advanced" tab and then select "Receive Buffers." Set it to either 1024 or the highest acceptable value.